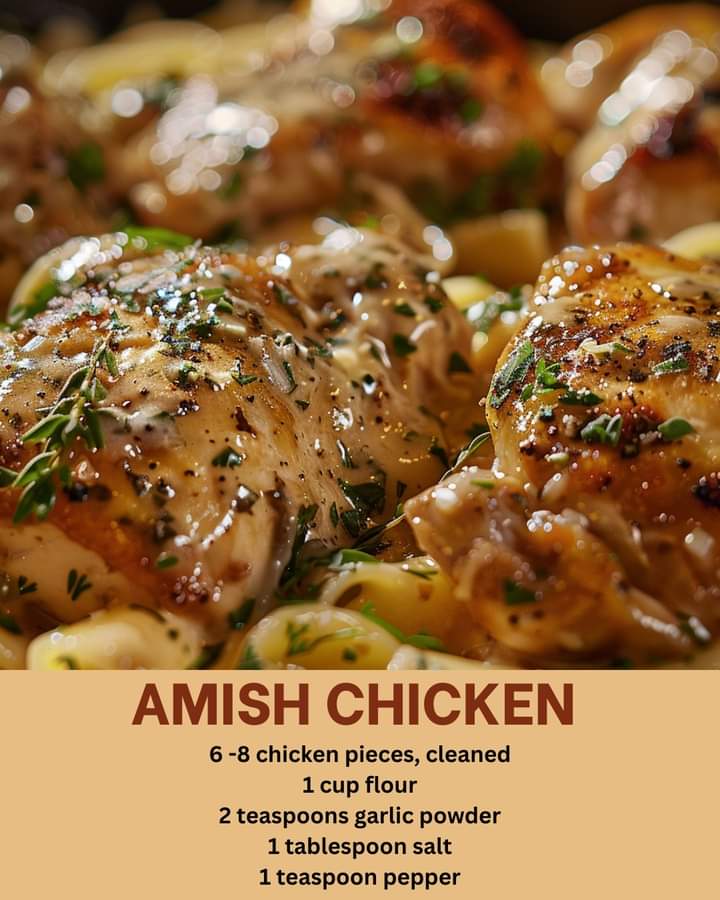
can’t skimp on that.)
– Get out your baking dish and prepare it by rubbing flour all over the surface of it.
(Some people would rather grease up the pans first. You would achieve even better results by simply lining up the inside of the baking dish with aluminum foil and calling it a day. This is all part of the non- stick process; meaning, we’re doing this to prevent the chicken pieces from sticking down to the baking dish after the all baking process.)
– Arrange skin side up in a baking dish.
(We do this because it’s much easier to tell when the Amish Chicken is done when you’ve arranged the chicken pieces skin side up in the baking dishes that it would be if you’ve done otherwise. Part of the whole “is it done?” determination process is being able to tell from the color of the skin, after all.)
– Mix the cream and water and pour over the chicken.
(This is all part of the seasoning bit of the Amish Chicken recipe, a crucial part. This is the part that plays one of the major roles in gravy formation. So, if you’re that type I mentioned earlier on, the type who’s only interested in the gravy, you definitely do not want to skip this part of the recipe. And the best part is that you can tweak it to give the type of flavor you like in your gravy.
– Add more parts of whipping cream than water if you like it extra creamy, or if you’re finding it tricky to tweak or you’re afraid you’ll mess it up, feel free to consult with us in the comment section. We’ll be sure to get back to you.)
– Bake at 350* for 1 1/2 hours or until the skin is golden brown.
(If you like to pre-heat the oven, you can do so for a few minutes – just a few minutes – before you slide in that loaded baking dish, because this Amish Chicken recipe really doesn’t need all the extra heat from a preheated oven. It might lead to a recipe for disaster.)
Serve, dig in and enjoy!
