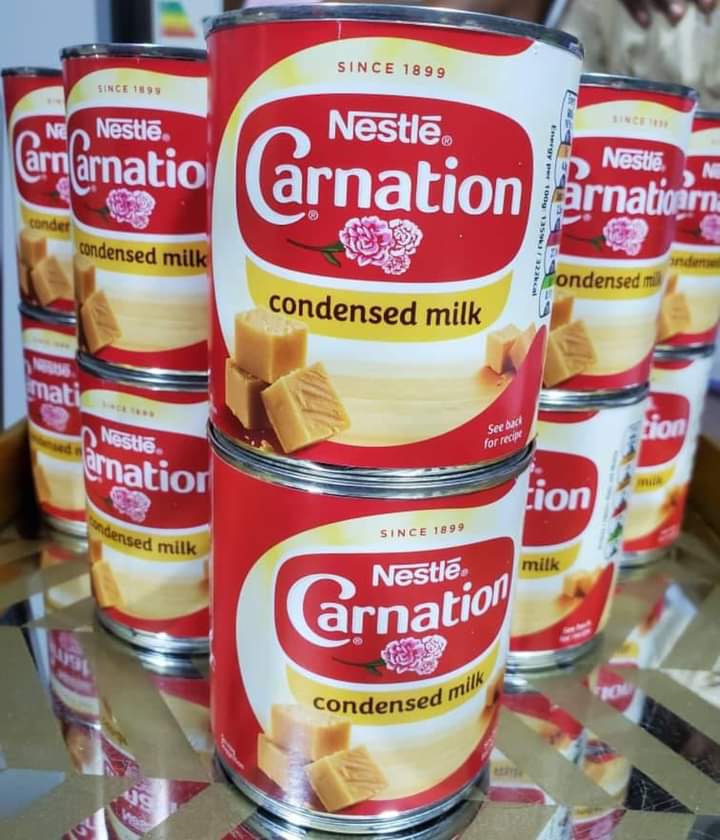
Making your own sweetened condensed milk at home can be a truly rewarding experience, and it offers a level of customization and satisfaction that store-bought versions simply can’t match. This invaluable baking ingredient, essential for countless desserts from pies to cookies to candies, is surprisingly easy to prepare in your own kitchen. Having learned this recipe from my Amish neighbor, I’ve discovered that not only is it a fun and engaging kitchen project, but it also serves as a cost-effective alternative to commercial products. You can adjust the sweetness, choose between dairy and non-dairy ingredients, and make a product that fits your dietary preferences perfectly. Now, I make it in batches and freeze it for later use, ensuring that I always have some on hand for any baking project. Let’s dive into the details of making homemade sweetened condensed milk, from the simple ingredients to the step-by-step instructions.
Ingredients
3 tablespoons butter (or coconut oil/vegan butter for a dairy-free version)
1 cup instant dry milk or non-dairy milk powder (such as soy or almond powder)
2/3 cup sugar (adjust according to taste)
1/3 cup boiling water
Step-by-Step Instructions
Step 1: Prepare the Ingredients
Gather Your Ingredients:
Assemble all the necessary ingredients: butter (or its substitute), dry milk powder, sugar, and boiling water. Having everything ready and pre-measured will make the process smoother.
Measure the Ingredients:
Measure out 3 tablespoons of butter (or coconut oil/vegan butter), 1 cup of instant dry milk (or non-dairy milk powder), 2/3 cup of sugar, and 1/3 cup of boiling water.
Step 2: Combine the Ingredients
Mix the Ingredients:
In a mixing bowl, add the butter (or coconut oil/vegan butter), dry milk powder, and sugar.
Pour in the boiling water. The hot water helps to dissolve the sugar and melt the butter, ensuring that all the ingredients blend together smoothly.
Blend Until Smooth:
Using an electric mixer or a whisk, beat the mixture vigorously. Continue mixing until you achieve a smooth, creamy consistency. This step is crucial for ensuring that all ingredients are thoroughly combined and free of lumps.
Step 3: Use or Store the Sweetened Condensed Milk
Immediate Use:
If you plan to use the sweetened condensed milk right away, it’s ready to be incorporated into your recipe. This homemade version works just like the store-bought kind, adding a rich, creamy sweetness to your desserts.
Storing for Later:
If you’re not using the sweetened condensed milk immediately, transfer it to an airtight container.
Label the container with the date and contents. Homemade sweetened condensed milk can be stored in the refrigerator for up to a week or in the freezer for several months.
Step 4: Thawing and Using Stored Sweetened Condensed Milk
Thawing Frozen Milk:
When you’re ready to use your frozen sweetened condensed milk, remove the container from the freezer and let it thaw in the refrigerator overnight. If you’re in a hurry, you can thaw it at room temperature for a few hours.
Stir well before using to ensure the consistency is smooth.
Variations and Substitutions
Adjusting Sweetness
Less Sweet Version:
If you prefer a less sweet condensed milk, reduce the amount of sugar to 1/2 cup. Taste the mixture and add more sugar if needed.
Natural Sweeteners:
Replace sugar with an equal amount of honey or maple syrup for a different flavor profile and natural sweetness.
Non-Dairy Version
Vegan Option:
For a vegan or lactose-free version, substitute the butter with coconut oil or vegan butter and use non-dairy milk powder such as soy or almond powder.
Flavor Additions
Vanilla Flavor:
Add a teaspoon of vanilla extract to the mixture for a vanilla-flavored sweetened condensed milk.
Other Flavors:
Experiment with other flavorings like almond extract or a hint of cinnamon to create unique versions of sweetened condensed milk.
Storage Tips
Short-Term Storage
Refrigeration:
Store the sweetened condensed milk in an airtight container in the refrigerator. It will stay fresh for up to a week.
Long-Term Storage
Freezing:
For longer storage, freeze the sweetened condensed milk in an airtight container. It can be kept frozen for several months. Thaw in the refrigerator overnight before use, and stir well to ensure a smooth consistency.
Tips and Tricks for Best Results
Ensuring Smooth Consistency
Beat Thoroughly:
Ensure that the mixture is beaten thoroughly to prevent any lumps from forming. An electric mixer can make this process quicker and easier.
Using in Recipes
Baking:
Use your homemade sweetened condensed milk in any recipe that calls for the store-bought version. It works perfectly in pies, cookies, candies, and more.
Drinks:
Add a spoonful to coffee, tea, or smoothies for an extra touch of sweetness and creaminess.
Conclusion
Making homemade sweetened condensed milk is a simple, rewarding project that offers numerous benefits over store-bought versions. You can control the sweetness, choose between dairy and non-dairy ingredients, and enjoy the satisfaction of knowing exactly what goes into your food. This recipe, shared by my Amish neighbor, has become a staple in my kitchen. I enjoy making it in batches and freezing it, so I always have this versatile ingredient on hand for my baking needs.
Whether you’re a seasoned baker or just someone who loves experimenting in the kitchen, this homemade sweetened condensed milk recipe is a game-changer. Its adaptability makes it perfect for various dietary preferences, and its ease of preparation ensures that you’ll never want to go back to the canned version again. Give it a try, and you might find yourself making large batches to freeze for later, just like I do.
