🥛 Homemade Creamy Milk Base (No Baking – Smooth & Silky)
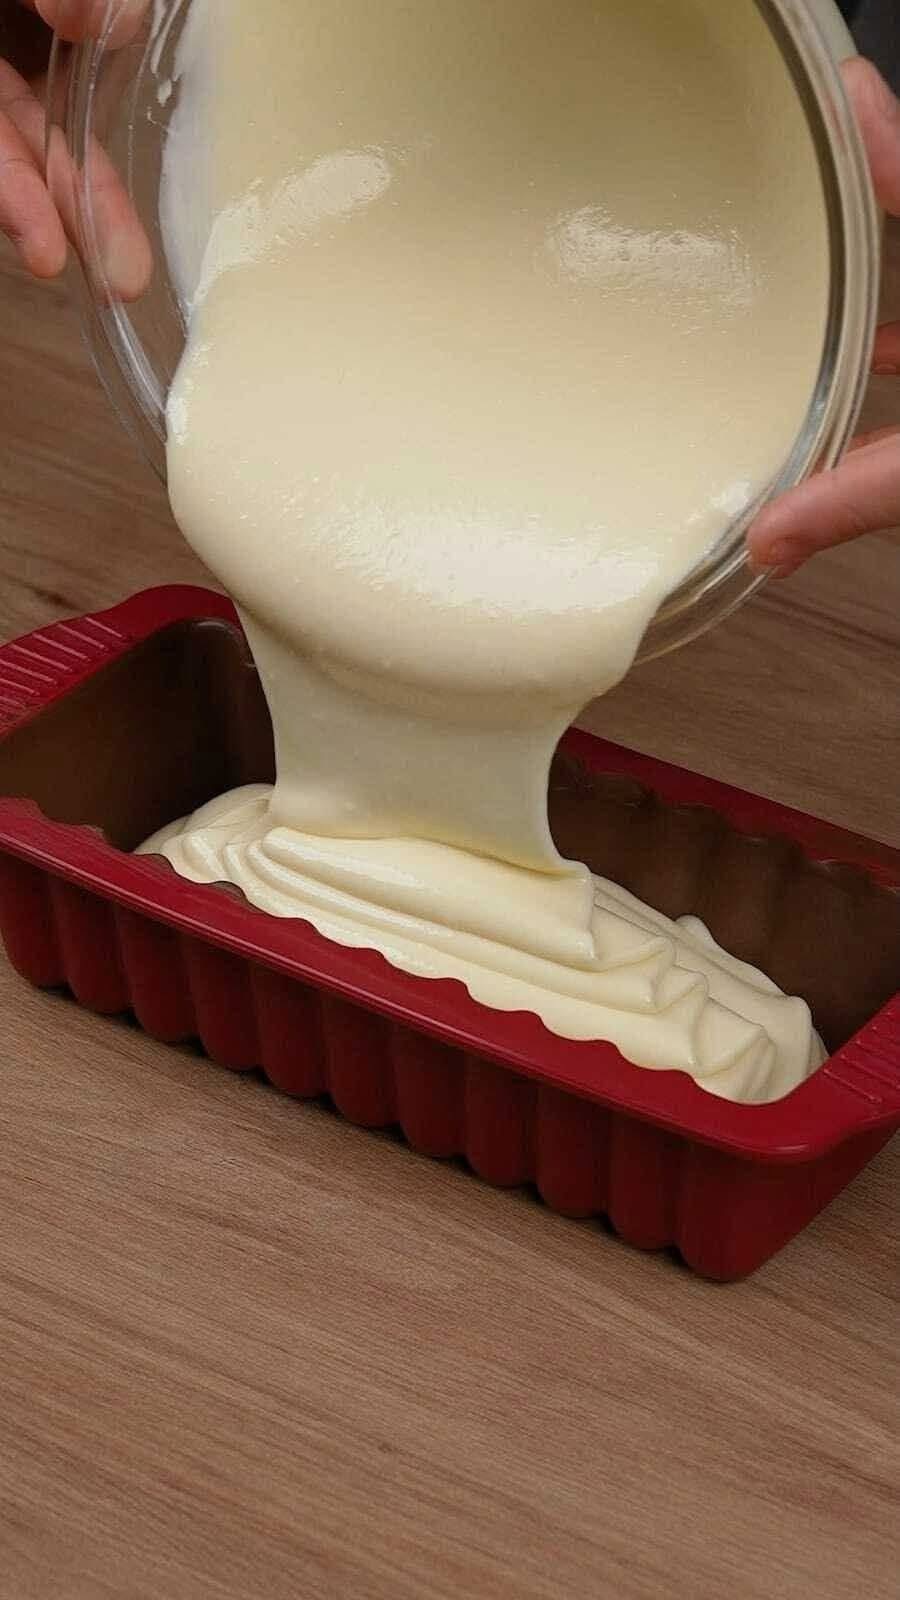
This rich, creamy milk mixture is perfect for no-bake desserts, layered sweets, frozen treats, cakes, or molds. It looks just like the mixture in the image: thick, glossy, elastic, and pourable, holding its shape beautifully once cooled.
It’s easy, economical, and made with simple ingredients found in every kitchen.
🌟 Why This Recipe Is Special
- No baking required
- Ready in minutes
- Smooth, lump-free texture
- Perfect consistency for molds
- Can replace condensed milk in many desserts
- Customizable (sugar-free, flavored, dairy-free options)
This mixture is often used as:
- A condensed milk alternative
- A no-bake dessert base
- A creamy layer for cakes
- A freezer dessert mixture
- A pudding-style sweet
🧾 Ingredients
You only need basic ingredients, but precision matters:
- 1 liter (4 cups) whole milk
(Whole milk gives the best thickness and creaminess) - 4 tablespoons cornstarch
(This is what thickens the mixture) - 3–5 tablespoons sugar
(Adjust to taste, or replace with sweetener) - 1 tablespoon butter (optional but recommended)
Adds shine and richness - 1 teaspoon vanilla extract (optional)
🥄 Equipment Needed
- Medium saucepan
- Whisk
- Measuring spoons
- Silicone mold or glass container
- Spatula
👩🍳 Step-by-Step Instructions
Step 1: Dissolve the Cornstarch
In a bowl, take 1 cup of cold milk from the total amount.
Add the cornstarch and whisk until completely smooth.
⚠️ This step is crucial. Never add cornstarch directly to hot milk or it will clump.
Step 2: Heat the Milk
Pour the remaining 3 cups of milk into a saucepan.
Add the sugar and place over medium heat.
Stir gently until the milk is warm and the sugar dissolves.
Step 3: Combine & Thicken
Slowly pour the cornstarch mixture into the warm milk while whisking constantly.
Keep whisking continuously to avoid lumps.
After 2–3 minutes:
- The mixture will begin to thicken
- The texture will turn glossy
- It will coat the whisk heavily
Lower the heat.
Step 4: Cook to Perfection
Cook on low heat for 5–7 minutes, stirring constantly.
You’ll know it’s ready when:
- It flows slowly like lava
- Leaves visible lines when stirred
- Pulls away slightly from the pan
Add butter and vanilla, stir until fully incorporated.
Step 5: Mold & Cool
Pour the hot mixture into:
- A silicone loaf mold
- A glass dish
- Individual dessert cups
Tap gently to remove air bubbles.
Let it cool at room temperature for 20 minutes, then refrigerate for 2–3 hours.
🧊 Texture After Cooling
Once chilled, the mixture becomes:
- Firm but creamy
- Sliceable
- Silky smooth
- Not rubbery
- Not watery
Exactly like the image you shared.
🍰 How to Use This Creamy Milk Base
This recipe is incredibly versatile:
✔ As a Dessert on Its Own
Slice and serve with:
- Fruit
- Honey
- Chocolate sauce
- Coconut flakes
✔ As a Cake Filling
Use between cake layers instead of cream.
✔ As a No-Bake Cheesecake Layer
Pour over biscuit crust and chill.
✔ As Frozen Dessert
Freeze for 4–6 hours for a milk-based frozen sweet.
✔ As Condensed Milk Substitute
Use in recipes that require thickness and sweetness.
🔁 Variations
Sugar-Free Version
Replace sugar with:
- Stevia
- Erythritol
- Monk fruit
(Add gradually and taste.)
Chocolate Version
Add:
- 2 tablespoons cocoa powder
- Or 100 g melted dark chocolate
Coconut Version
Replace half the milk with coconut milk.
Coffee Version
Add 1 tablespoon instant coffee dissolved in milk.
❌ Common Mistakes to Avoid
- Not dissolving cornstarch first
- Cooking on high heat
- Stopping stirring
- Using low-fat milk
- Overcooking (makes it gummy)
🕒 Storage
- Refrigerator: up to 3 days
- Freezer: up to 1 month (wrap well)
💬 Viral Group Line (Optional)
“Done ✅ Staying active and trying this creamy milk recipe!”
If you want, I can:
- Rewrite this as a Facebook viral post
- Convert it to Arabic
- Make it sugar-free only
- Adapt it for kids
- Turn it into a blog article with SEO
Just tell me 😊