🍰
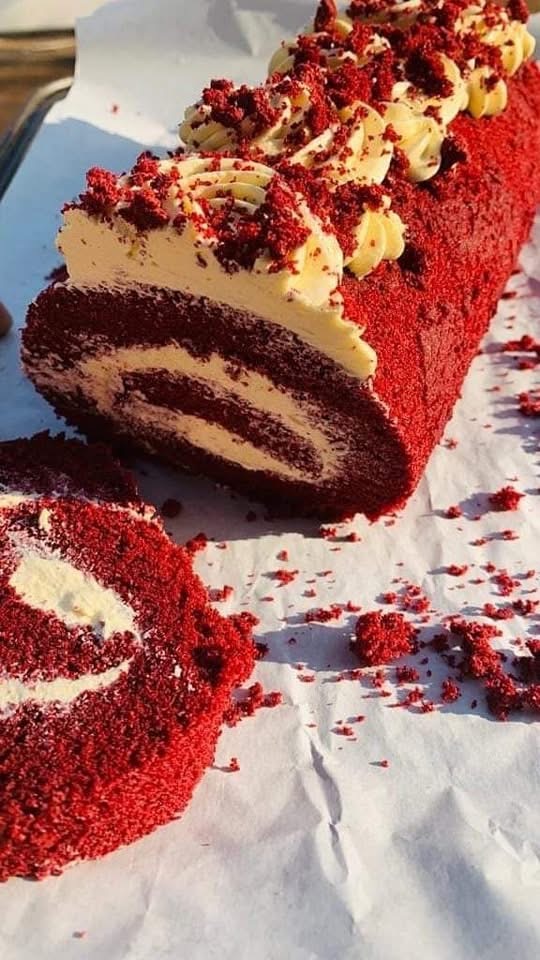
🎂 Red Velvet Cake Roll
📝 Ingredients
For the Cake:
- 3 large eggs (room temperature)
- 3/4 cup (150g) granulated sugar
- 1 tablespoon vegetable oil
- 1 teaspoon vanilla extract
- 1 tablespoon cocoa powder
- 1 cup (125g) all-purpose flour
- 1 teaspoon baking powder
- 1/4 teaspoon salt
- 1 tablespoon red food coloring
- 2 tablespoons buttermilk
- Powdered sugar (for rolling)
For the Cream Cheese Filling:
- 8 oz (225g) cream cheese, softened
- 4 tablespoons (60g) butter, softened
- 1 cup (120g) powdered sugar
- 1 teaspoon vanilla extract
👩🍳 Instructions
1️⃣ Prepare the Pan
- Preheat oven to 350°F (175°C).
- Line a 10×15-inch jelly roll pan with parchment paper.
- Lightly grease the parchment.
2️⃣ Make the Batter
- Beat eggs and sugar for 3–4 minutes until thick and pale.
- Add oil and vanilla, mix well.
- Sift together flour, cocoa powder, baking powder, and salt.
- Gently fold dry ingredients into the egg mixture.
- Add buttermilk and red food coloring. Mix until smooth (do not overmix).
3️⃣ Bake
- Spread batter evenly into prepared pan.
- Bake for 10–12 minutes (do not overbake).
- Cake should spring back when lightly touched.
4️⃣ Roll While Warm
- Lay a clean kitchen towel on the counter and dust generously with powdered sugar.
- Immediately turn hot cake onto towel.
- Carefully peel off parchment paper.
- Roll cake up tightly with the towel (from short end).
- Let cool completely while rolled.
5️⃣ Make the Filling
- Beat cream cheese and butter until smooth.
- Add powdered sugar and vanilla.
- Beat until creamy and fluffy.
6️⃣ Fill & Roll Again
- Carefully unroll cooled cake.
- Spread cream cheese filling evenly.
- Roll back up (without towel).
- Wrap in plastic wrap and chill for at least 1 hour.
✨ Finishing Touch
- Dust with powdered sugar.
- Slice and serve!
Soft, creamy, and perfectly festive ❤️
If you’d like, I can also give you a bakery-style version that stays extra moist for days 😉