Introduction
The very mention of “Southern Fried Chicken” conjures images of golden-brown, impossibly crispy skin, juicy meat, and a symphony of savory spices. It’s a dish deeply woven into the fabric of American culinary tradition, a symbol of comfort, hospitality, and pure, unadulterated deliciousness. While the classic preparation often involves a glorious dip into a deep fryer, yielding that unmistakable thick, craggy batter, sometimes we crave that same incredible flavor and satisfying crunch without all the oil. This recipe offers a delightful and healthier alternative, inspired by the beloved Southern flavors, delivering perfectly seasoned, crispy-skinned chicken drumsticks that are baked or air-fried to golden perfection.
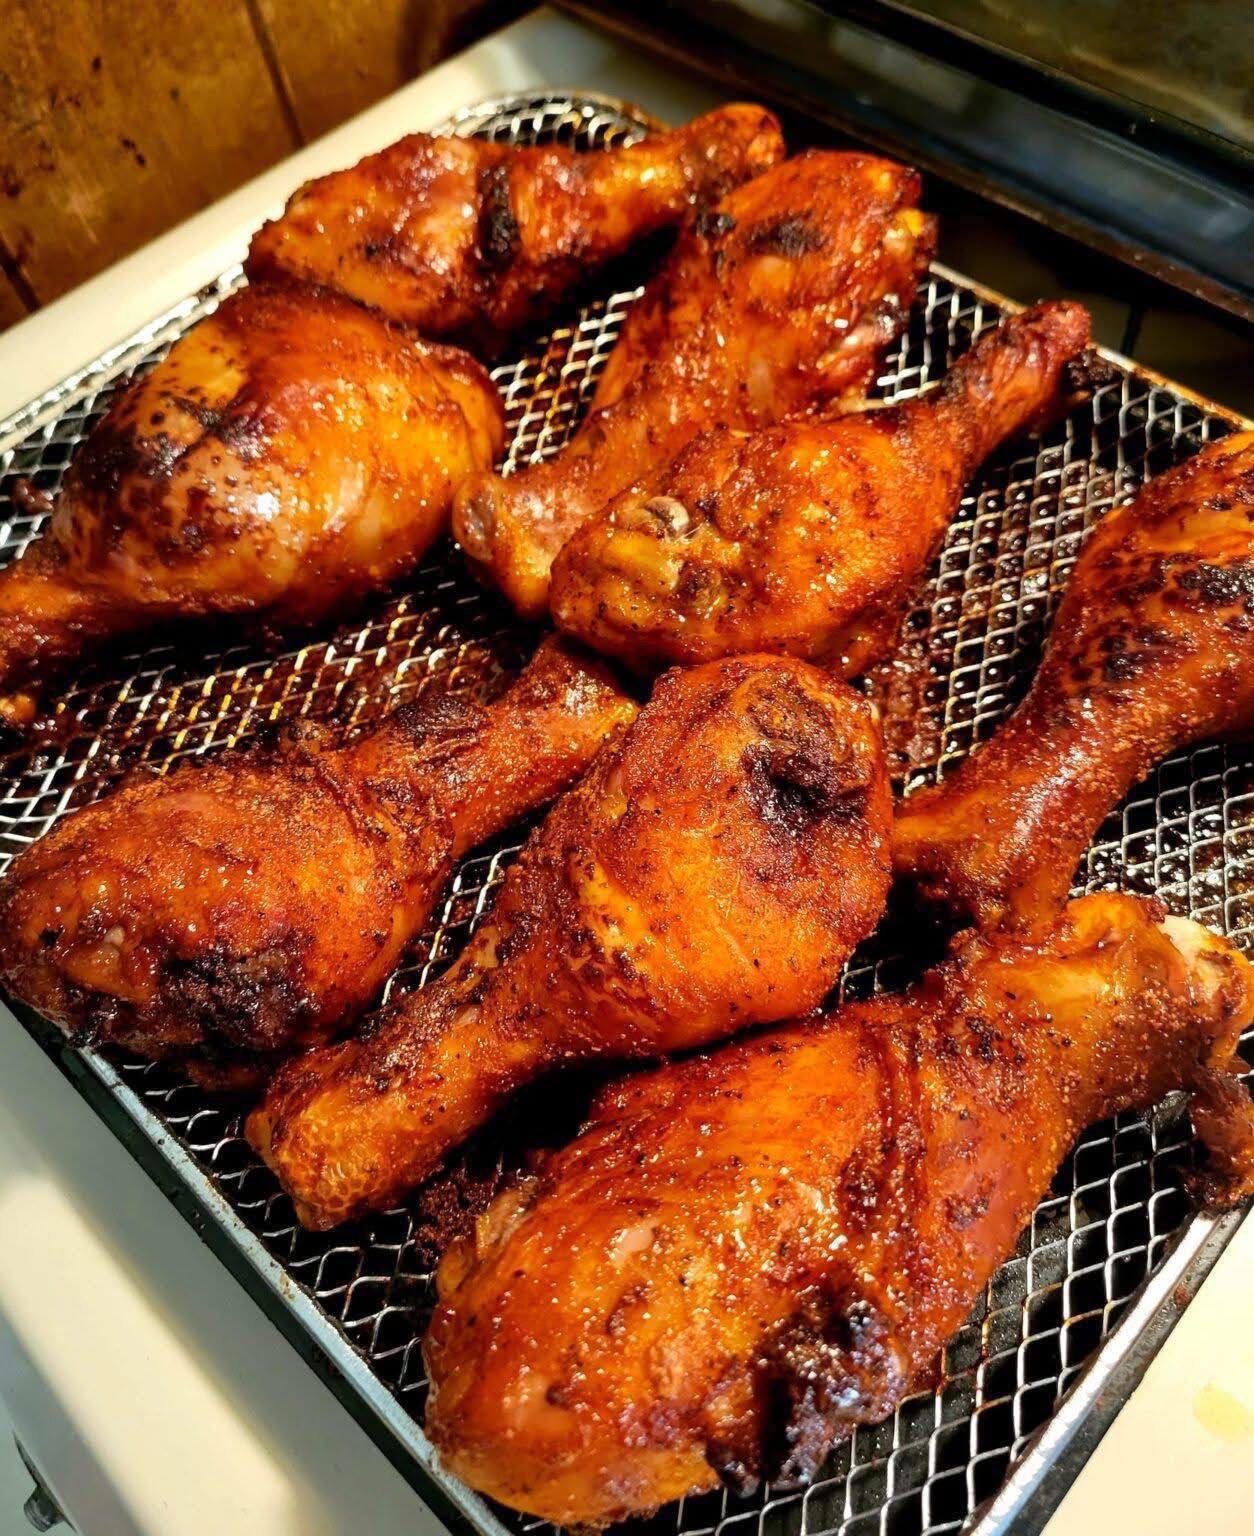
We’re embracing the spirit of Southern cooking by focusing on robust seasoning and a method that maximizes crispness, even without submerging our chicken in a vat of hot oil. The chicken in our image, with its beautifully browned skin and tantalizing texture, perfectly illustrates this approach. It might not boast the super-thick, craggy crust of a traditional deep-fried piece, but it absolutely delivers on flavor, tenderness, and a satisfying crispness that will have you reaching for more. This isn’t just a compromise; it’s a celebration of how we can adapt classic tastes to fit our modern kitchens and preferences.
Get ready to transform humble chicken drumsticks into a star dish that’s both lighter and incredibly flavorful. We’ll guide you through creating a “batter,” or rather, a highly effective and delicious coating that crisps up beautifully in your oven or air fryer, mimicking some of the “fried” characteristics we all adore. This method ensures every bite is packed with that comforting Southern-style goodness, making it a fantastic option for weeknight dinners or a crowd-pleasing weekend meal.
Nutritional Information
Per serving (approximate values for 2 drumsticks):
- Calories: 380
- Protein: 45g
- Carbohydrates: 12g
- Fat: 16g
- Fiber: 2g
- Sodium: 650mg
Ingredients
- 8 medium chicken drumsticks (about 2.5-3 lbs total)
- 1 cup buttermilk
- 2 tablespoons hot sauce (such as Tabasco or Frank’s RedHot)
- 1.5 cups all-purpose flour
- 1/2 cup cornstarch
- 2 teaspoons smoked paprika
- 1.5 teaspoons garlic powder
- 1.5 teaspoons onion powder
- 1 teaspoon dried thyme
- 1 teaspoon dried oregano
- 1 teaspoon cayenne pepper (adjust to taste for heat)
- 1 tablespoon kosher salt
- 1 teaspoon freshly ground black pepper
- 2 tablespoons olive oil or vegetable oil (for brushing/spraying)
- Optional: Fresh parsley, chopped, for garnish
Instructions
- Prepare the Chicken: Rinse the chicken drumsticks under cold water and pat them thoroughly dry with paper towels. This step is crucial for achieving crispy skin, as excess moisture prevents browning.
- Marinate the Chicken: In a large bowl or a resealable plastic bag, combine the buttermilk and hot sauce. Add the dried chicken drumsticks, ensuring they are fully submerged or coated. If using a bowl, cover it with plastic wrap. Marinate in the refrigerator for at least 2 hours, or preferably overnight, for maximum flavor and tenderness.
- Prepare the Coating Mixture: In a shallow dish or a large resealable plastic bag, combine the all-purpose flour, cornstarch, smoked paprika, garlic powder, onion powder, dried thyme, dried oregano, cayenne pepper, kosher salt, and black pepper. Whisk or shake well to ensure all the spices are evenly distributed throughout the flour mixture.
- Preheat Oven or Air Fryer: If baking, preheat your oven to 400°F (200°C). Line a large baking sheet with foil for easier cleanup, and place an oven-safe wire rack on top. If using an air fryer, preheat it to 375°F (190°C).
- Coat the Chicken: Remove the chicken drumsticks from the buttermilk marinade, allowing any excess to drip off briefly. Do not wipe off the marinade. One by one, dredge each drumstick generously in the flour mixture, pressing firmly to ensure the coating adheres well. Make sure the entire surface of each drumstick is covered. Set the coated drumsticks aside on a clean plate or a separate wire rack.
- Chill (Optional but Recommended): For the crispiest results, place the coated drumsticks on a wire rack and refrigerate for about 15-30 minutes. This allows the coating to dry out slightly and adhere more firmly, preventing it from flaking off during cooking.
- Prepare for Cooking: Lightly brush or spray the coated drumsticks with olive oil or vegetable oil. This helps with browning and crispness.
- Bake the Chicken: Arrange the oiled drumsticks in a single layer on the prepared wire rack on the baking sheet, ensuring there is space between each piece for air circulation. Bake for 35-45 minutes, flipping the drumsticks halfway through cooking, until they are golden brown, crispy, and cooked through. An instant-read thermometer inserted into the thickest part of the meat (without touching the bone) should register 165°F (74°C).
- Air Fry the Chicken: Place the oiled drumsticks in the air fryer basket in a single layer, making sure not to overcrowd it. You may need to cook in batches. Air fry for 25-35 minutes, shaking the basket or flipping the drumsticks every 8-10 minutes, until they are golden brown, crispy, and cooked through to an internal temperature of 165°F (74°C).
- Rest and Serve: Once cooked, remove the chicken from the oven or air fryer and let it rest on the wire rack for 5-10 minutes before serving. This allows the juices to redistribute, resulting in more tender and moist chicken. Garnish with fresh parsley, if desired.
Cooking Tips and Variations
Achieving the perfect “fried” texture without deep-frying relies on a few key techniques. First and foremost, always pat your chicken drumsticks thoroughly dry before marinating; moisture is the enemy of crispiness. Using a wire rack during baking or air frying is non-negotiable, as it allows hot air to circulate all around the chicken, preventing a soggy bottom and promoting even crispness. Don’t overcrowd your baking sheet or air fryer basket; give each piece ample space to breathe and brown properly. High heat, as indicated in the recipe, helps to quickly crisp the coating while the chicken cooks through. For an extra layer of flavor, consider adding a pinch of celery salt or a dash of smoked paprika into your flour mixture for a deeper, more complex taste profile. You can also experiment with a touch of cornmeal in your flour blend for a slightly grittier, more traditional “fried” texture. For those who love heat, feel free to increase the cayenne pepper or add a pinch of chili powder. If you prefer boneless, skinless chicken, adjust the cooking time accordingly, as they will cook much faster.
Storage and Reheating
Leftover Crispy Oven-Baked/Air-Fried Southern-Style Chicken Drumsticks can be stored in an airtight container in the refrigerator for up to 3-4 days. To reheat and maintain crispness, avoid the microwave. Instead, preheat your oven to 350°F (175°C) or your air fryer to 325°F (160°C). Place the chicken on a wire rack set over a baking sheet (for the oven) or directly in the air fryer basket. Reheat for 10-15 minutes, or until thoroughly heated through and the coating has re-crisped. The exact time will depend on the size of the drumsticks and your appliance.
Frequently Asked Questions
How can I ensure my chicken skin gets extra crispy without deep-frying?
The key to extra crispy skin is to start with very dry chicken, marinate it, then thoroughly coat it with our flour and cornstarch mixture. The cornstarch helps achieve that signature crispness. Additionally, brushing or spraying with a little oil before baking/air frying, cooking on a wire rack for air circulation, and using moderately high heat are all crucial steps. Don’t crowd the pan, as this can steam the chicken instead of crisping it.
Can I use chicken thighs or breasts instead of drumsticks?
Yes, absolutely! This recipe works wonderfully with other cuts of chicken. If using chicken thighs, the cooking time will be similar to drumsticks. For boneless, skinless chicken breasts, you’ll need to significantly reduce the cooking time, likely 20-30 minutes, to prevent them from drying out. Bone-in, skin-on breasts will take longer. Always use a meat thermometer to ensure the thickest part reaches 165°F (74°C).
What if I don’t have buttermilk?
No buttermilk? No problem! You can easily make a substitute. For 1 cup of buttermilk, combine 1 cup of regular milk (dairy or non-dairy) with 1 tablespoon of white vinegar or lemon juice. Stir it together and let it sit for 5-10 minutes until it curdles slightly. This will provide the necessary acidity to tenderize the chicken and help the coating adhere.
Can I prepare the chicken ahead of time?
You can marinate the chicken in the buttermilk mixture for up to 24 hours in advance, which will enhance its flavor and tenderness. You can also coat the chicken with the flour mixture and refrigerate it on a wire rack for 1-2 hours before cooking. This allows the coating to set and dry slightly, contributing to a crispier finish. However, for the best results, cook the chicken shortly after coating.